


If a metal roof leaks near the chimney, the fix is usually about water path, not just caulk. I look at four parts first: the front flashing, side flashing, back pan, and counterflashing. If one part is missing, rusted, loose, or fitted poorly around panel ribs, water can slip in and travel before it shows up inside.
Here’s the short version:
- Most leaks start at the roof-to-chimney joint
- Metal roofs move more than masonry, so flashing details matter
- The uphill side of the chimney takes the most water
- A small patch only helps when the rest of the flashing is still sound
- Repeat leaks usually point to a design or install problem
- A flashing kit only works when the roof shape, slope, and chimney layout match
A few facts help put this in perspective:
- According to the U.S. Department of Housing and Urban Development, moisture is one of the main drivers of home damage and mold problems
- The National Roofing Contractors Association notes that roof penetrations, such as chimneys, are common leak points
- Even a small roof leak can lead to repairs that run from a few hundred dollars to $1,000+ once decking, insulation, or interior finishes are affected
Chimney Flashing Installation on a Standing Seam Metal Roof
Quick comparison
| Fix option | Best fit | Main risk |
|---|---|---|
| Small repair | One isolated leak with flashing still in good condition | It won’t fix a bad layout |
| Full reflashing | Repeat leaks, missing counterflashing, rust, or hidden damage | More labor and custom metal work |
| Flashing kit | Simple roof shape with a matching roof profile and slope | Poor fit on ribbed or tricky layouts |
My takeaway: if you see stains near a chimney, I wouldn’t assume the stain marks the entry point. I’d check the flashing layers, the masonry, and the uphill drainage first. That tells you whether you need a minor repair, a full redo, or a kit that actually fits.
How a Chimney Flashing System Works
A chimney flashing system uses a few metal pieces to steer water around the chimney and back onto the roof. Simple idea, but the details matter. Each layer has one job: keep water moving around the chimney, not slipping behind it.
Base Flashing, Side Flashing, Back Pan, and Counterflashing
Base flashing sits on the downhill side of the chimney. It overlaps the metal roofing panels, so water running down the front of the chimney lands back on the roof surface instead of sneaking into a gap.
Side flashing runs along both sides of the chimney. On metal roofs, it often acts like a continuous channel under the panels, keeping runoff on the roof side of the joint. That way, water stays in the path it’s supposed to follow.
The uphill side is where things get more serious. That side takes the most direct water pressure, which is why the back pan matters so much. It sits behind the chimney and catches water coming down the roof slope before it can collect against the masonry. On metal roofs, the back pan also has to allow for panel movement, so fit and sealing matter even more than they do on many other roof types.
Counterflashing covers the top edge of the base flashing and side flashing. It’s usually set into the chimney’s mortar joints and bent down over the flashing below. That overlap is the whole game. It stops wind-driven water from getting behind the system. Without it, water can find its way in even if the lower pieces still look fine from the outside.
On wider chimneys, a cricket or saddle is also needed on the uphill side. Its job is to split and divert water around the chimney instead of letting it sit and build up behind it.
Once the parts are in place, the next issue is how they fail.
Common Problems, Warning Signs, and Inspection Basics
Start with a ground-level check or an attic inspection of both the flashing and the chimney surface. The idea is simple: figure out whether the leak is coming from the flashing, the chimney, or both.
Common Flashing Failures on Metal Roofs
On metal roofs, flashing problems often show up where the material has to fit around panel ribs and seams. A bad fit can leave open gaps, lift the edges, or cause sealant to fail where the flashing meets the metal panels.
Look for:
- Lifted edges
- Rust
- Cracked sealant
- Gaps where the flashing meets the panel ribs
Signs the Leak May Be Getting Worse
Staining at the roof-to-chimney joint usually points to flashing trouble. Cracks, missing mortar, or a damaged crown usually point to chimney damage.
One thing trips people up all the time: water stains don’t always show up right where the leak begins. Water can travel before it appears indoors, so the stain you see may sit below the actual entry point. That’s why these clues help narrow down the repair scope instead of giving you the whole answer on their own.
How to Tell Whether the Chimney or the Flashing Is the Problem
The source of the leak shapes the repair. Flashing problems usually show up at the joint where the chimney meets the roof surface. Chimney masonry failures, on the other hand, can look a lot like roof leaks.
That’s the tricky part. Stain location by itself doesn’t tell you where the water got in. What you find during the inspection helps determine whether the next step is a small repair, full reflashing, or a flashing kit.
Repair, Reflashing, or a Flashing Kit: Choosing the Right Scope
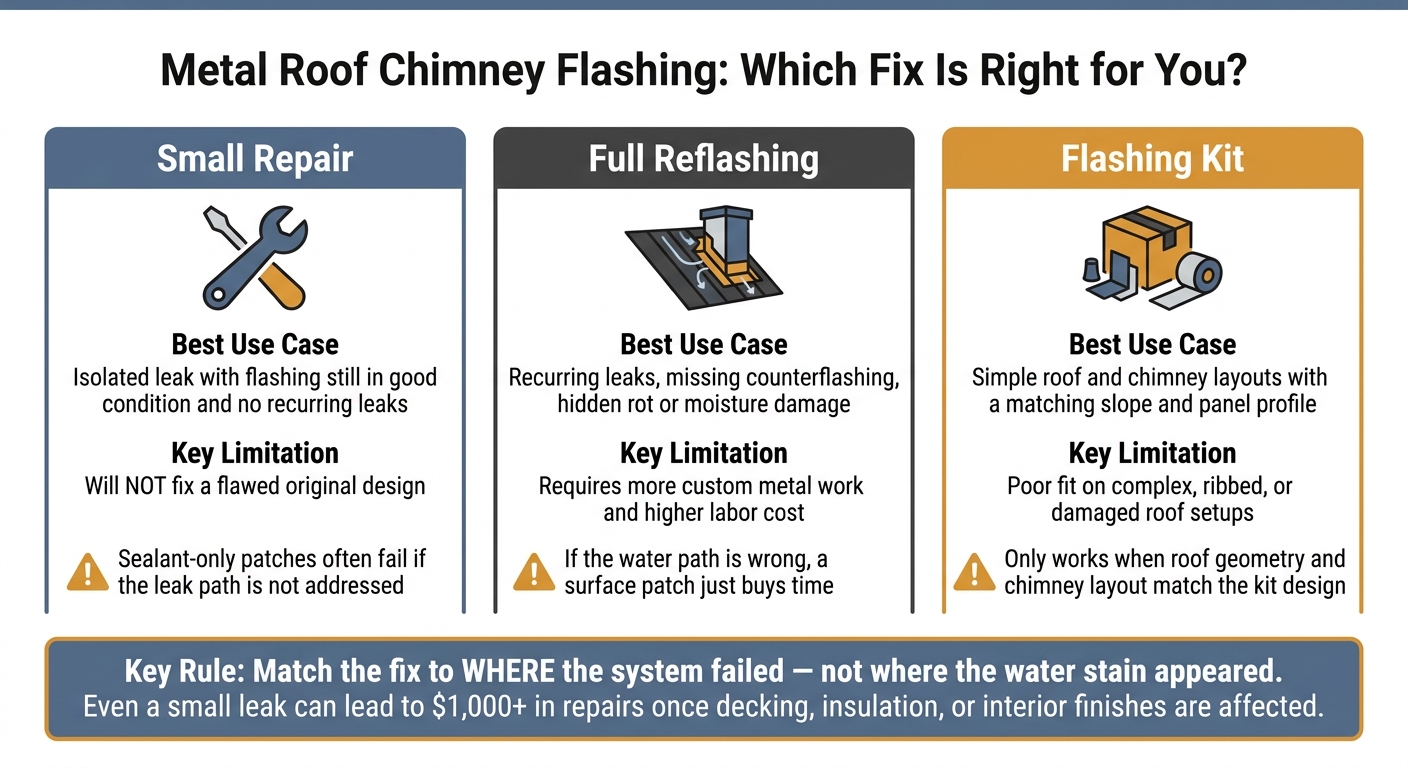
Metal Roof Chimney Flashing: Small Repair vs. Full Reflashing vs. Flashing Kit
Use the inspection to match the fix to the failure. That means choosing between a small repair, full reflashing, or a flashing kit based on where the system failed. Not where the water stain showed up. The point isn’t to close a gap you can see. The point is to stop the water path.
When a Small Repair May Be Enough
A small repair makes sense only when the flashing is still in good shape, the leak is isolated, and there isn’t major rust, masonry damage, or a pattern of repeat failure. In plain English: this works only when the leak is small and the flashing still sends water where it should.
When Full Reflashing Is the Better Long-Term Fix
Go with full reflashing when leaks keep coming back, the original detail was installed the wrong way, counterflashing is missing, or there’s hidden rot or other damage. If the water path is wrong, a surface patch doesn’t solve much. It just buys time before the leak shows up again.
When a Metal Roof Chimney Flashing Kit Can Work
A metal roof chimney flashing kit can work, but only when the roof profile, chimney shape, slope, and water flow line up with the kit’s design. That’s the catch. If the roof geometry and chimney layout don’t match the kit, the fit can go sideways fast.
| Option | Best Use Case | Key Limitation |
|---|---|---|
| Small repair | Isolated issue, sound flashing, no recurring leaks | Won’t fix a flawed original design |
| Full reflashing | Recurring leaks, missing counterflashing, hidden damage | Requires more custom metal work |
| Flashing kit | Simple roof and chimney layouts, matching slope | Poor fit on complex or damaged setups |
From there, look at materials, labor, and water-management details before you approve the job.
Project Planning, Cost Factors, and Final Homeowner Checklist
Before any work begins, make sure the contractor confirms where the leak starts, how far the problem goes, and whether the planned fix actually fits the roof.
What Contractors Check Before Recommending a Fix
A good estimate should trace the leak path, not just look at the water stain inside the house. That matters because the stain is often just where the water ends up, not where it got in.
Contractors should inspect the chimney base and the masonry for cracks or porous spots. They should also look at the roof slope, panel layout, fasteners, existing sealants, counterflashing, and any damp roof decking near the chimney.
Those same details shape both labor time and material cost.
What Affects Cost and Why Cheap Patches Often Fail
The price usually comes down to the roof shape, the panel layout, the condition of the current flashing parts, and how much hidden moisture damage is found once the area is opened up.
A sealant-only patch often fails when it doesn’t deal with the actual leak path. It may cover the spot you can see while water keeps moving in from somewhere else. That’s why the lowest bid can end up costing more over time.
Key Points to Remember Before You Approve the Work
Before you sign off on the job, check these items:
- Water should be directed around the chimney, not just sealed at a visible gap
- Both the roof-side flashing and the chimney masonry should be inspected, since either one may be the source
- A flashing kit only works if the roof shape and panel layout match the kit design
- If leaks have come back more than once, the flashing detail should be checked again instead of covered over one more time
- If you’re already planning a larger metal roof project, handle chimney flashing during that work to avoid extra labor later