

A metal roof can still leak at the edge even when the panels look fine. In many cases, the problem comes down to a few edge errors: no drip edge, bad overlap, poor corner work, or trying to stop water with caulk alone. For broader planning context, review the metal roofing guide. This factor also matters in a broader roof replacement project.
Here’s the short version:
- Water damage often starts at the roof perimeter
- Sealant is not a fix for bad edge layering
- Small gaps at corners, eaves, and rakes can let water slip behind the trim
- New metal trim should not cover rotten fascia or wet decking
- Stains on more than one side of the house often point to a bigger edge problem
- A low bid can turn into a larger repair bill if prep work is skipped
I’d treat this like a water-path check, not a looks check. If water is not being pushed into the gutter and away from the fascia, trim, and roof deck, damage can spread fast. According to housing repair data, water damage and rot can drive repair costs into the hundreds or even thousands of dollars, especially when wood framing or trim has been wet for a while.
Before I approve any roof-edge work, I’d ask:
- Was drip edge installed at all? (Get a free roof estimate to check your edge details.)
- Are the layers set so water moves out, not back under the roof?
- Were damaged wood parts replaced first?
- Is this one bad spot, or does the same damage show up along more than one edge?
Bottom line: if the edge detail is wrong, the roof can dump water into the house trim instead of away from it. That’s why the repair scope matters just as much as the new metal piece.
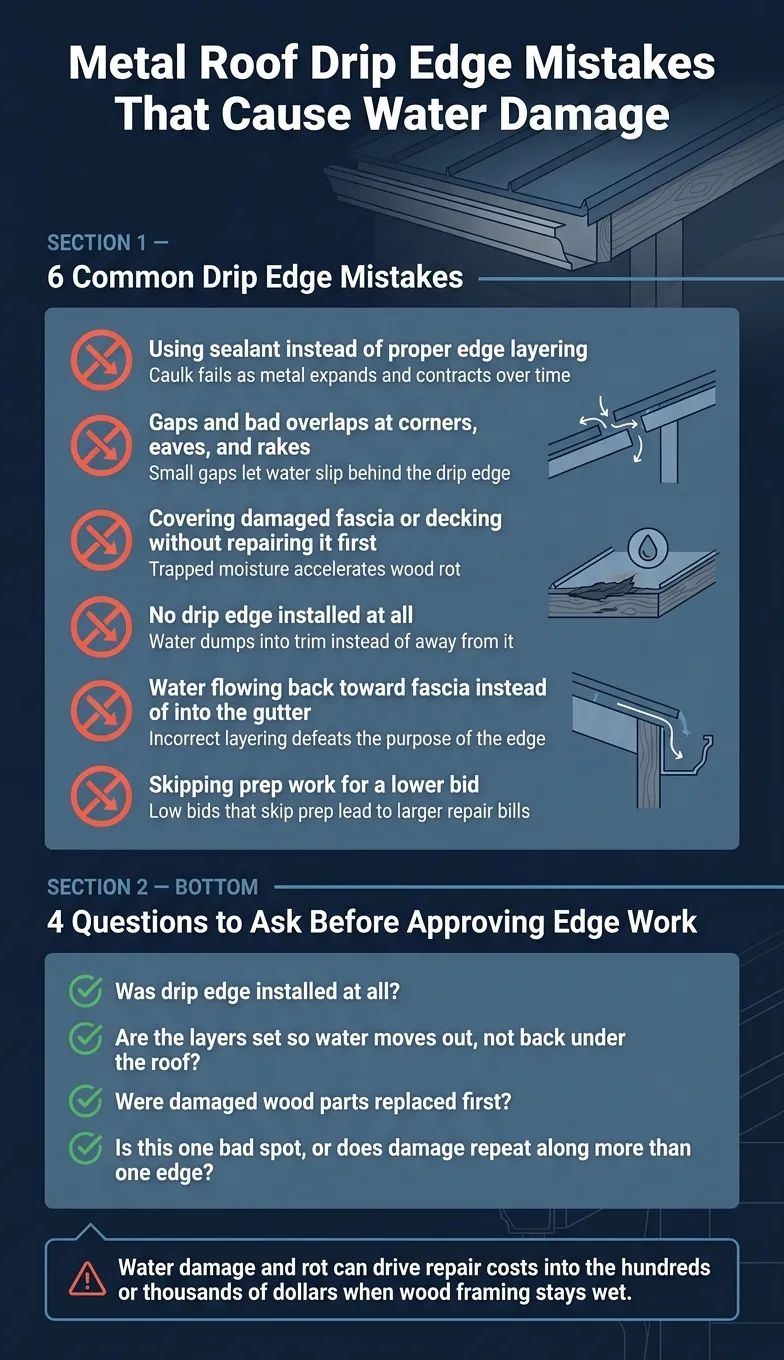 Metal Roof Drip Edge Mistakes That Cause Water Damage
The most common metal roof drip edge mistakes at the roof perimeter
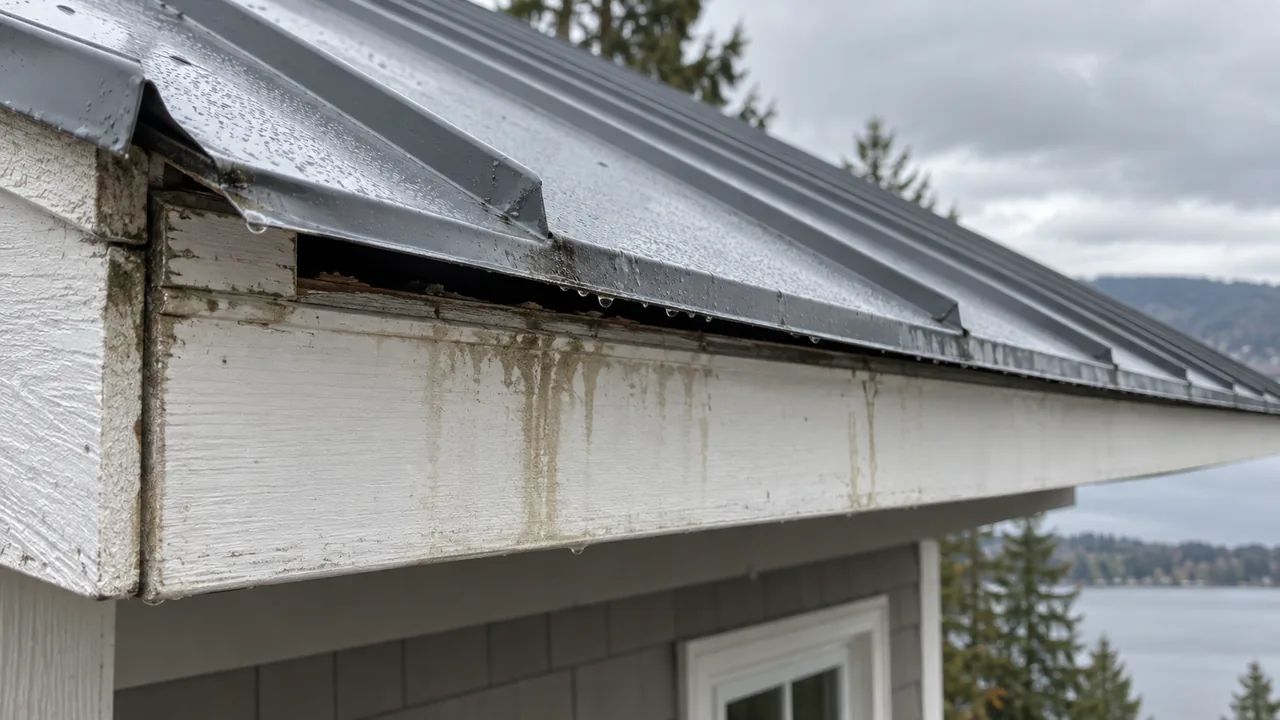
Relying on sealant instead of proper edge layering
Caulk won’t steer water away from the roof edge on its own.
At the perimeter, sealant should back up the right layering – not stand in for it. That’s the core issue. Metal expands and contracts as temperatures swing, and over time that movement can pull sealant bonds apart. When the edge is installed the wrong way, caulk might buy a little time, but it won’t fix the leak.
The ONLY Correct Way to Install Drip Edge and Underlayment
Improve your home’s exterior protection with durable roofing solutions.
Edge detail problems that are easy to miss during installation
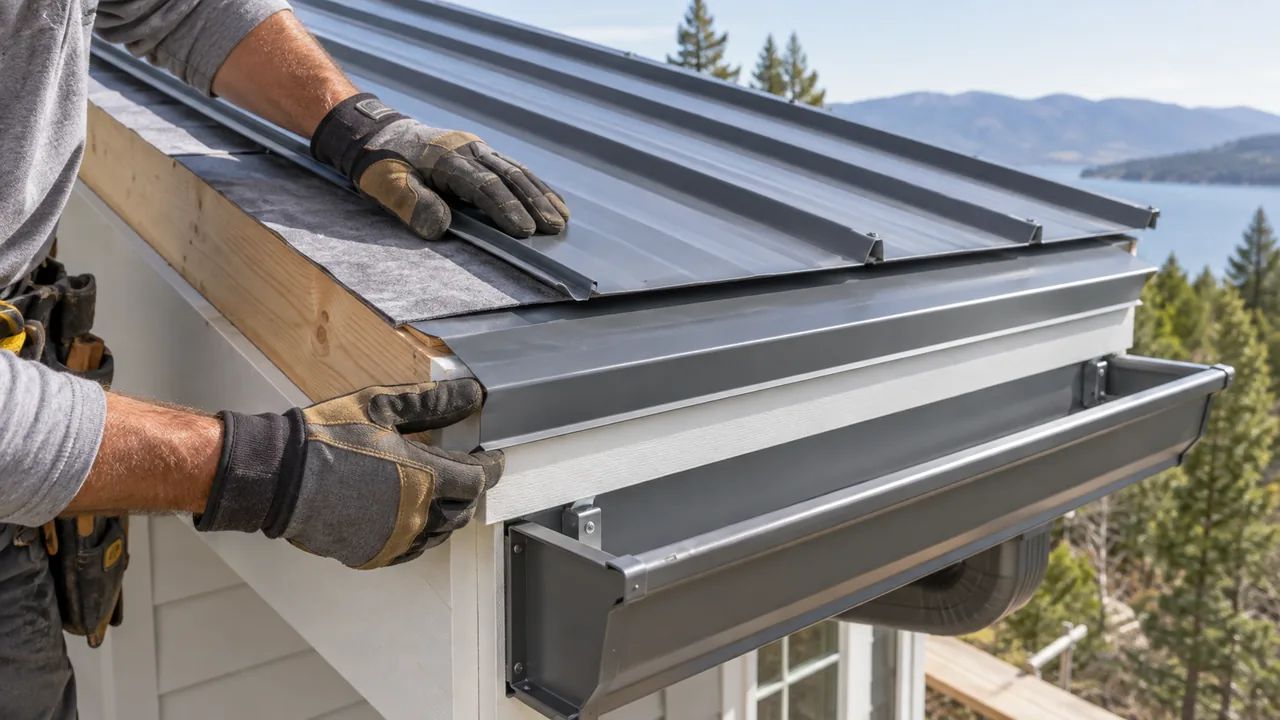
Even the right sealant can fail if the corners, overlaps, or the substrate are off.
Gaps and bad overlaps at corners, eaves, and rakes
Corners, eaves, and rakes are common leak spots because that’s where cuts and overlaps are hardest to nail down. A small gap might not look like much, but it can let water slip behind the drip edge and break the water path the edge is meant to keep in place.
Covering damaged fascia or decking instead of repairing it first
New drip edge won’t fix damaged wood underneath.
Drip edge needs solid wood so fasteners can hold and the trim can stay tight when the wind picks up. If someone covers wet or rotted wood, that moisture gets trapped and the wood breaks down faster.
Before you approve the repair, ask if the fascia and decking were checked and replaced before the trim went on. Hidden damage can change the whole picture. What looks like a fix on the surface can turn into a problem that keeps spreading.
Once the substrate is sound, the next thing to check is whether the edge detail matches the roof system.
How to tell whether the fix is a local repair or a bigger perimeter problem

Once the fascia and decking are sound, the next step is figuring out whether you’re dealing with one small trouble spot or a roof-edge problem that runs farther than it first appears.
A single damaged corner or one short stretch of soft trim usually means a local repair will do the job. But when stains, peeling paint, or rot show up along more than one edge, don’t treat it like a simple patch. At that point, you’re looking at a full roof-edge issue.
The same goes for repeat gutter-line trouble, water marks in several spots, or soft trim that keeps failing after repairs. Those are signs the whole perimeter needs a close inspection before any finish work goes on.
If the stain, rot, or peeling paint repeats along more than one edge, treat it as a perimeter problem, not a patch job.
That call should shape the estimate, the repair scope, and the inspection of the rest of the roof edge.
What to check before approving roof edge work
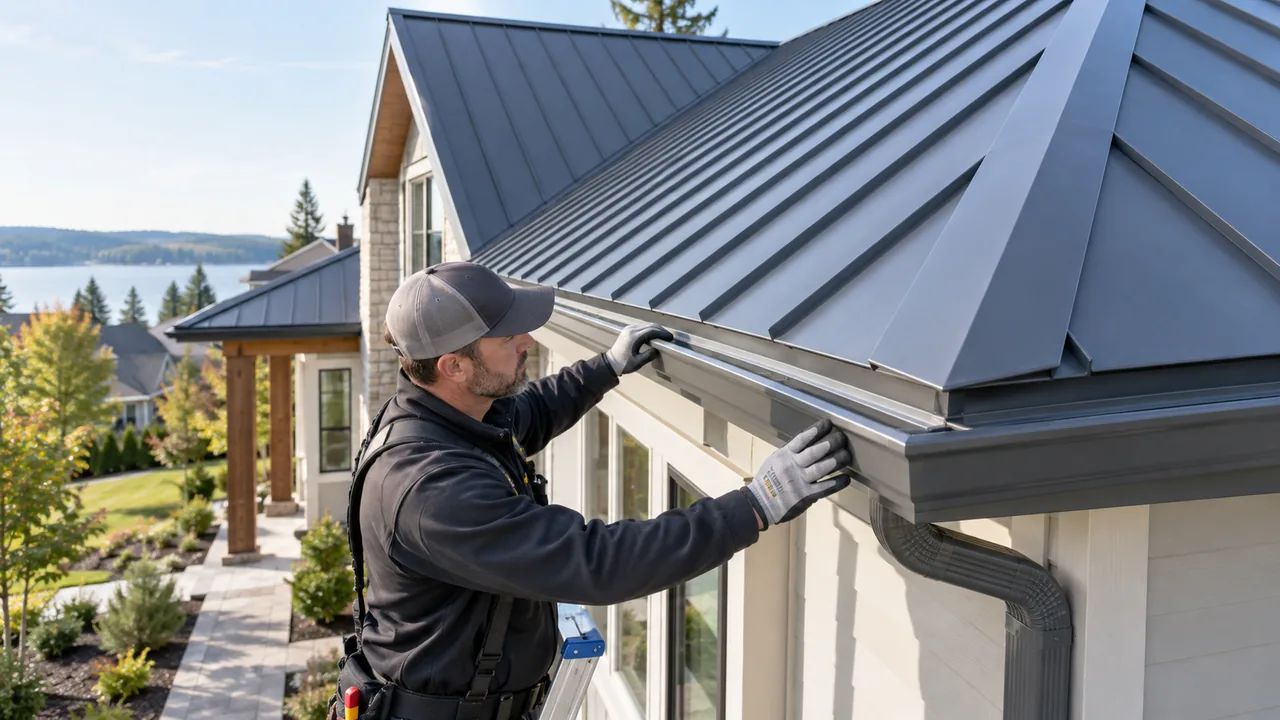

Questions to ask about water direction and installation
Before you approve the work, ask one simple thing first: how will the roof edge move water into the gutter without letting it run back toward the fascia or decking?
That water path needs to be clear. If the contractor can’t explain it in plain language, or the estimate doesn’t show how that detail will work, don’t approve the job yet.
Once that part makes sense, look at the estimate again and make sure it covers the full repair scope, not just the visible edge piece.
Why cheaper edge work can cost more later
Cheap roof-edge work can turn into a bigger bill down the road.
If a low bid skips edge prep, water may end up going behind the gutter line and into the fascia instead of flowing where it should. That can lead to more repair work later. So before signing off, make sure the repair scope is clearly spelled out.
Next step for homeowners who want a full roof-edge review
If the detail still feels fuzzy, slow down and get a full roof-edge review before work starts.