

A picture window replacement works best when it fixes more than the view. I’d look at five things first: the current window’s condition, the opening size, sun and privacy, the frame and glass package, and the install plan.
If the glass is fogged, the frame is soft, or the room still feels dark, drafty, or too hot, replacement may make sense. And if I want a larger view, I need to know early whether the wall can handle a bigger opening, because that changes labor, trim work, and total cost.
Here’s the short version:
- Replace for a reason: fogged glass, failed seals, drafts, rot, bad sizing, or a weak view
- Check the opening first: measure it, inspect the sill, and look for water damage or framing issues
- Decide size early: same-size swaps are simpler; larger openings add wall work
- Match the room: sun exposure, glare, privacy, furniture, and street-facing appearance all matter
- Pick glass by problem: Low-E for heat, laminated for noise, tinted for glare
- Keep installation tight: flashing, sealing, trim, and hidden rot can affect how the window looks and performs
A few facts help put this in context: according to the U.S. Department of Energy, heat gain and heat loss through windows account for 25% to 30% of residential heating and cooling energy use. That’s why glass choice and sealing matter just as much as the view.
If I were planning this job, I’d keep the goal simple: get a better view without adding glare, heat, leaks, or extra repair costs.
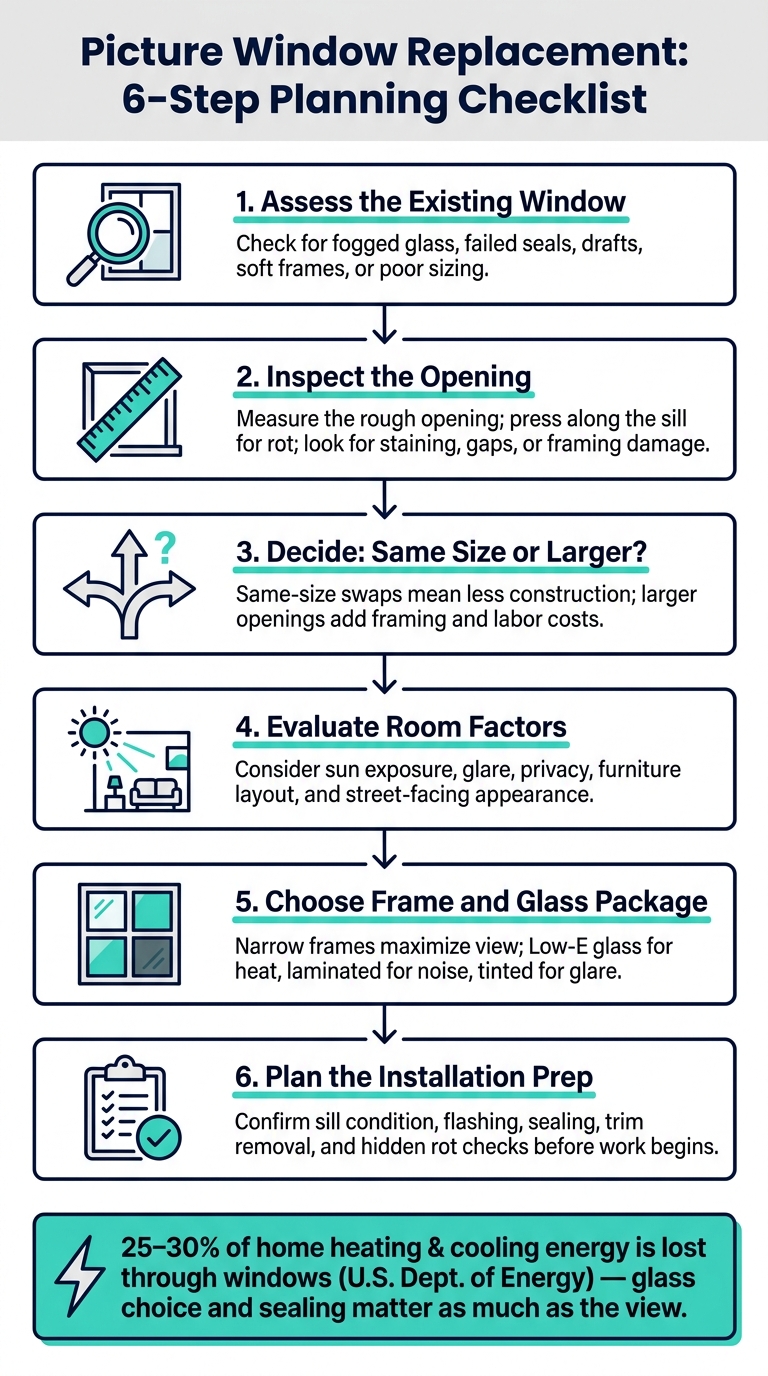
Picture Window Replacement: 6-Step Planning Checklist
How to Replace a Picture Window | Ask This Old House

When Replacing a Picture Window Makes Sense
Once the goal is clear, the next step is simple: figure out whether the current window still fits that goal.
Signs the Existing Window Is No Longer Performing
It makes sense to replace the window when the glass, frame, or size no longer works for the room.
Fogged or cloudy glass usually means the seal has failed. At that point, no coating or cleaning is going to fix it. Drafts around the frame are another red flag. They often mean the seal has worn down, which can pull heat out during winter and let heat in during summer.
The frame itself can also tell you a lot. If it feels soft, looks stained, or has started to swell, moisture has likely done more than surface-level damage. And sometimes the issue isn’t wear at all. If the window is too small, poorly placed, or just looks out of scale with the room, that’s a sizing issue, not a glass issue. In that case, replacement is the only way to change it.
How to Inspect the Existing Opening Before Planning Changes
Before picking a new window, check what the current opening can actually handle. That step helps you see the full scope of the job before making any product call.
Start with a few basic checks:
- Measure the rough opening to see if a same-size replacement will fit or if resizing is needed.
- Press along the sill and lower frame to spot soft areas that may point to rot or water damage.
- Look for staining, swelling, or gaps around the frame that can signal a failed seal.
- Check that the wall framing around the opening is still sound and able to support a new unit, especially if you’re thinking about going larger.
After that, homeowners can decide whether to keep the same size or go with a larger window.
How to Plan the Right Replacement for Better Views
Once you know what the window needs to fix, the next step is simple: decide whether you’re staying within the current opening or making it bigger.
That one call affects almost everything else. It shapes the framing, the finish work, and the final proportions. A good view isn’t just about picking a nice-looking unit. The wall has to support the design, and the layout has to make sense for the room. Start with the opening, then build the plan around how the space is used.
Keep the Same Opening or Make It Larger
A same-size replacement is the simplest route. It usually means less construction, fewer moving parts, and an easier install.
Making the opening larger changes the scope of the job. It adds construction work, so make that decision early – before you choose the unit.
Room Layout, Sun Exposure, and Privacy Checks
Before going bigger, look at how the room actually works day to day. Check the room use, furniture placement, direct sun, glare, privacy, and how the window will look from the street-facing elevation.
Those details matter more than people think. A larger opening can sound great on paper, but if it creates harsh afternoon glare, reduces privacy, or clashes with the front of the house, it may not be the right move.
When to Add an Operable Window Next to a Picture Window
If airflow matters, don’t stop at view planning. Shift to function planning too.
Add an operable window when the room needs ventilation. Make that call before final sizing so the fixed and operating units line up in one layout.
Frame, Glass, and Cost: The Main Product Decisions
Once the layout is set, it’s time to pick the frame, glass, and full installed scope. These choices shape the view, comfort, and price. A good setup should give you a better view without piling on heat, glare, or street noise. Start with the frame, because it decides how much glass you’ll actually see from inside the room.
Frame Materials and How They Affect the View
Go with the narrowest frame profile the wall can support. Thick frames eat into the visible glass area, so less frame usually means a cleaner, more open view.
It also helps to match the frame material, color, and finish to the home’s look, both inside and outside. That way, the window feels like part of the house instead of something dropped in later.
Glass Options That Cut Heat, Glare, and Noise
Since a picture window doesn’t open, the glass package does most of the work when it comes to comfort. Low-E glass helps control heat. Laminated glass helps reduce noise. Tinted glass makes sense when glare is the main problem.
Better glass often costs more, so it’s smart to match the glass package to the room’s sun exposure, noise level, and privacy needs. A bright west-facing room, for example, may need a different setup than a quiet side room with little direct sun.
What Affects the Total Cost of Picture Window Replacement
Installed cost depends on the window size, frame material, glass package, labor, trim, sealing, and any repairs that show up during the job. That’s why you should get the full installed price in writing before approving anything.
Once those choices are locked in, the installer can confirm the opening size and check what prep work the project needs.
Installation Steps and Final Planning Checks
Once you’ve chosen the size, frame, and glass, the next part matters just as much: installation prep. After the window size and glass are set, installation prep decides whether the finished result matches the plan.
What Remodelers Check Before Installation Begins
Because a picture window does not open, sealing and trim work affect both how it looks and how it performs. If the seal is poor or the opening is out of square, the final view can look off, and the room can end up with comfort issues.
Before the unit goes in, a remodeler should check:
- Sill condition
- Flashing
- Trim removal
- Hidden rot
Soft sill material often points to rot or water damage behind the surface. The contractor should also confirm the flashing, sealing, and trim plan before installation starts. These checks can reveal hidden wall damage before the window is installed.
Conclusion: Pick the View Upgrade That Also Improves Comfort
A picture window replacement usually goes more smoothly when the sill is sound and the flashing, sealing, and trim plan are settled before work begins. When those details are handled up front, the installation is cleaner and the window tends to perform better. Ready to see what your project costs? Get your free windows quote from Koalaty Remodel.